
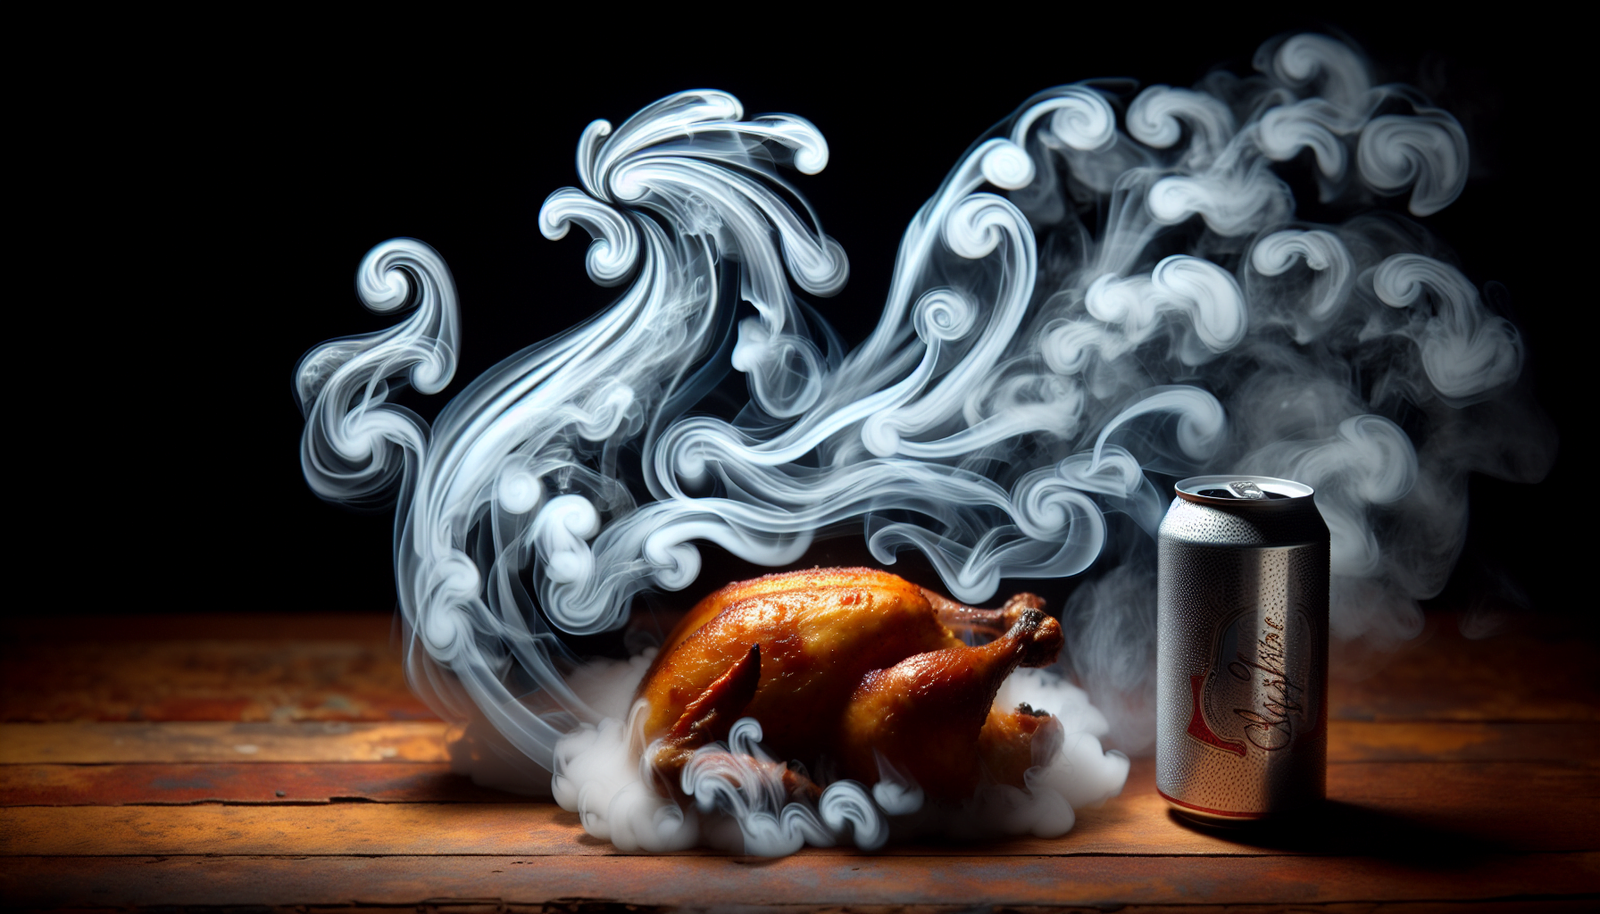
Hey there! Let me introduce you to a mouthwatering delight called “Beer Can Chicken.” Picture this: a perfectly roasted and juicy chicken, sitting proudly on a grill, with a can of beer nestled inside it. Yes, you heard that right! This unique cooking method infuses the meat with incredible flavors and guarantees a moist and tender result every time. Get ready to savor the irresistible combination of grill-kissed chicken and the subtle essence of your favorite brew. It’s time to elevate your grilling game to a whole new level with this fantastic recipe.
Preparing the Chicken
Choosing the Right Chicken
When it comes to making delicious beer can chicken, choosing the right chicken is essential. I recommend picking a whole chicken that is around 4 to 5 pounds in weight. Look for a chicken that has a plump and healthy appearance, with clear and moist skin. It’s also important to check the expiration date and ensure that the chicken is fresh.
Cleaning and Trimming the Chicken
Before seasoning the chicken, it’s important to clean and trim it properly. Start by rinsing the chicken thoroughly under cold running water to remove any residue or impurities. Pat it dry with paper towels. Next, trim off any excess fat or loose skin. This will help prevent flare-ups on the grill and ensure even cooking.
Seasoning the Chicken
Seasoning is key to imparting delicious flavors into the chicken. You can use a pre-made chicken rub or create your own blend of herbs and spices. Some popular seasonings for beer can chicken include garlic powder, onion powder, paprika, dried herbs like thyme and rosemary, salt, and pepper. Rub the seasoning all over the chicken, making sure to get it into all the nooks and crannies. Let the chicken sit for at least 30 minutes to allow the flavors to penetrate the meat.
Setting up the Grill
Selecting the Grill
Choosing the right grill for beer can chicken is crucial. While both charcoal and gas grills work well, using a charcoal grill will give the chicken a slightly smoky flavor that pairs perfectly with the beer-infused cooking method. Make sure your grill is clean and in good working condition before firing it up.
Preheating the Grill
To ensure even cooking, it’s important to preheat the grill properly. For charcoal grills, light the charcoal and let it burn until it turns white and ashy. This usually takes about 15-20 minutes. For gas grills, preheat them to a medium-high heat. Preheating the grill will also help to prevent sticking and ensure a nice sear on the chicken.
Adding Wood Chips or Aromatics
To enhance the flavor of the beer can chicken, consider adding some wood chips or aromatics to the grill. Soak wood chips in water for at least 30 minutes before grilling, then scatter them over the coals or place them in a smoker box for gas grills. Popular wood chip options for chicken include hickory, mesquite, and applewood. You can also add aromatic ingredients such as fresh herbs, garlic cloves, or citrus slices to infuse additional flavors into the chicken.
Prepping the Beer Can
Choosing the Beer
Selecting the right beer for beer can chicken is an exciting part of the cooking process. The beer not only adds moisture to the chicken but also imparts additional flavors. While any beer can be used, I recommend choosing a lager or ale with a mild flavor profile. Avoid using beers that are overly hoppy or have strong flavors, as they can overpower the chicken.
Emptying Half of the Beer
Before inserting the beer can into the chicken, empty about half of the beer. This will prevent it from overflowing during cooking. You can either pour the beer into a glass to enjoy later or discard it.
Adding Flavorings to the Beer
To add extra flavors to your beer can chicken, consider adding a few flavorings to the beer itself. Some popular options include garlic cloves, sliced onions, lemon wedges, or sprigs of fresh herbs. The steam from the beer will mingle with these aromatics and infuse the chicken with wonderful flavors as it cooks.
Beer Can Chicken Cooking Techniques
Indirect Grilling
Indirect grilling is a popular technique for cooking beer can chicken. It involves placing the chicken on the grill away from the heat source, allowing it to cook slowly and evenly. To do this, create a two-zone fire on your grill by piling the charcoal or igniting the burners on only one side of the grill. Place a drip pan on the other side to catch any drippings and prevent flare-ups. Carefully position the chicken on the grill so that it sits upright on the beer can, making sure it is stable and secure. Close the lid and let the chicken cook indirectly until it reaches the desired internal temperature.
Direct Grilling
Direct grilling is another option for cooking beer can chicken. This method involves placing the chicken directly over the heat source, allowing it to cook through a combination of direct heat and indirect heat from the grill. Start by searing the chicken over high heat for a few minutes on each side to create a crispy outer crust. Then, move the chicken to a cooler part of the grill and position it over the drip pan. Close the lid and continue cooking until the chicken is fully cooked.
Rotisserie Method
For those who prefer a more hands-off approach, using a rotisserie to cook beer can chicken is a fantastic option. Many grills come with rotisserie attachments or you can purchase an aftermarket rotisserie kit. Simply secure the chicken on the rotisserie rod and follow the manufacturer’s instructions for setting up and operating the rotisserie. This method ensures even cooking and a beautiful, evenly browned skin.
Beer Can Chicken Cooking Times
Determining the Cooking Time
The cooking time for beer can chicken can vary depending on various factors, including the size of the chicken, the cooking method used, and the temperature of the grill. As a general guideline, a 4 to 5-pound chicken will take approximately 1.5 to 2 hours to cook at a grill temperature of around 350°F (175°C). However, it’s always best to rely on an instant-read thermometer to determine the chicken’s doneness.
Checking for Doneness
To check if the beer can chicken is cooked through, insert an instant-read thermometer into the thickest part of the thigh without touching bone. The chicken is safe to eat when the internal temperature reaches 165°F (74°C). If the temperature hasn’t reached this point yet, continue cooking, checking every 10 minutes until it reaches the desired temperature. Once cooked, transfer the chicken to a cutting board and let it rest for about 10 minutes before carving.
Tips and Tricks for Beer Can Chicken
Using a Beer Can Chicken Holder
A beer can chicken holder is a handy tool that helps to stabilize the chicken on the grill, ensuring that it remains upright throughout the cooking process. It also prevents the beer can from tipping or spilling. Simply insert the can into the holder and position the chicken on top, securely holding it in place. This accessory not only makes grilling easier but also creates an impressive presentation.
Basting the Chicken
To keep the chicken moist and add extra flavor, consider basting it during the cooking process. You can use a basting brush to apply a flavorful marinade, barbecue sauce, or a mixture of melted butter and herbs onto the chicken every 30 minutes. This will create a delicious glaze on the outside and keep the meat succulent.
Adding Vegetables or Potatoes
If you want to elevate your beer can chicken meal, consider adding vegetables or potatoes to the grill alongside the chicken. This not only makes it a complete meal but also allows the vegetables to soak up the flavors from the chicken drippings. Place the vegetables or potatoes in a grill basket or wrap them in foil with some butter and seasonings, and cook them alongside the chicken.
Common Mistakes to Avoid
Using Light Beer
While it may be tempting to use light beer for beer can chicken, it’s best to avoid it. Light beers tend to lack flavor and can result in a less flavorful end product. Opt for beers with more body and flavor to enhance the overall taste of the dish.
Neglecting to Season the Chicken
Seasoning the chicken is a crucial step that should never be overlooked. Neglecting to season the chicken will result in a bland and unappetizing end product. Take the time to properly season the chicken with your choice of herbs, spices, and rubs to infuse it with delicious flavors.
Overcooking the Chicken
One common mistake when cooking beer can chicken is overcooking it. Overcooked chicken can be dry and tough, diminishing the overall enjoyment of the meal. Make sure to monitor the cooking time and use a thermometer to ensure the chicken reaches the correct internal temperature of 165°F (74°C). Remember to rest the chicken after cooking to allow the juices to redistribute and ensure a moist and tender result.
Variations of Beer Can Chicken
Spicy Beer Can Chicken
For those who enjoy a bit of heat, try making a spicy beer can chicken. To spice things up, add some cayenne pepper, chili powder, or your favorite spicy rub to the chicken seasoning. You can also experiment with using a spiced beer or adding hot sauce to the beer can for an extra kick of flavor.
Citrus-Infused Beer Can Chicken
For a refreshing and zesty twist, try making a citrus-infused beer can chicken. Use a citrus-based seasoning or rub on the chicken, such as lemon pepper or orange zest mixed with herbs. Add slices of citrus fruits like lemons, oranges, or limes to the beer can to infuse the chicken with bright and tangy flavors.
Asian-Inspired Beer Can Chicken
For an Asian-inspired twist on beer can chicken, incorporate some Asian flavors into your seasoning. Mix together soy sauce, ginger, garlic, and a touch of honey to create a flavorful marinade for the chicken. You can also add some chopped scallions or cilantro to the beer can to further enhance the Asian-inspired flavors.
Serving and Pairing Options
Slicing and Plating the Chicken
After the beer can chicken has rested, it’s time to slice and plate it. Carefully remove the chicken from the beer can, making sure to discard the can safely. Begin by cutting off the wings, followed by separating the legs and thighs. Finally, carve slices of breast meat from each side. Arrange the chicken on a serving platter and garnish with fresh herbs for a beautiful presentation.
Recommended Side Dishes
Beer can chicken pairs well with a variety of side dishes. Consider serving it with classic barbecue sides such as corn on the cob, coleslaw, baked beans, or potato salad. Grilled vegetables like asparagus or zucchini also make excellent accompaniments. For a heartier option, roasted potatoes or creamy mashed potatoes will complement the chicken perfectly.
Beer Pairing Recommendations
Of course, what better way to complement a beer-infused chicken dish than with a cold bottle of beer? Choose a beer that harmonizes well with the flavors of the chicken. Lighter beer styles such as lagers or pale ales work well, as they won’t overpower the delicate flavors of the chicken. You can also choose a beer with flavors that complement the seasonings and aromatics you used, such as a citrusy IPA or a malty amber ale.
Conclusion
Beer can chicken is a flavorful and fun way to cook chicken on the grill. By following these steps, you’ll be well on your way to creating a delicious and succulent chicken infused with the flavors of beer and seasonings. Whether you’re a grilling enthusiast or a novice cook, beer can chicken is a crowd-pleasing dish that is sure to impress your family and friends. So fire up the grill, crack open a cold beer, and enjoy the savory delight that is beer can chicken!
